

Seal Attic First: Solar Attic Fan Installation for Homeowners
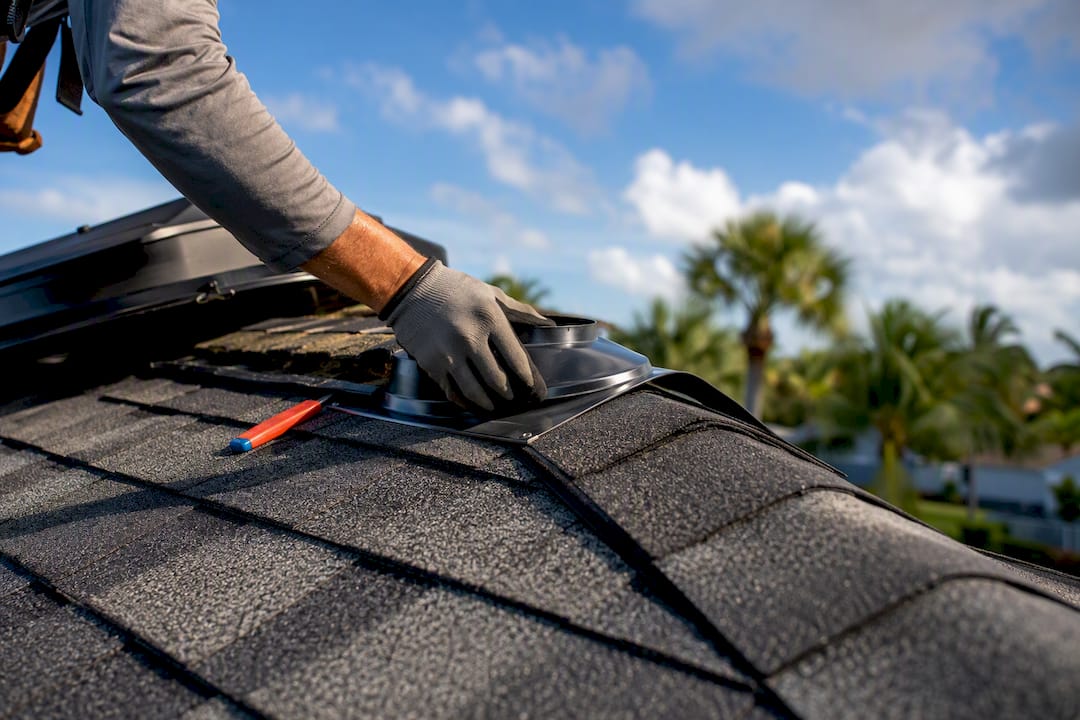
Most handy homeowners can safely handle solar attic fan installation with basic roofing tools, a weekend afternoon, and a healthy respect for working on a roof. Call a professional if you have a tile or metal roof, complicated flashing, ductwork sharing the attic space, or an attic that leaks conditioned air like a sieve. Get the prep work right and you can expect a noticeably cooler attic and a modest dip in cooling costs, not a miracle fix for a poorly sealed home.
TL;DR:
Attic sealing around light fixtures, plumbing stacks, and the hatch is crucial to prevent cooled indoor air from being drawn into the attic via the fan.
Proper placement near the ridge and ensuring unobstructed sun exposure maximizes the fan’s effectiveness, especially in larger or steeper-attic homes.
DIY installation on asphalt roofs can take about 1 to 2 hours with the right tools, but complex roofs or sharing attic space with ductwork necessitate professional help.
Regular maintenance, including annual water tests, blade checks, and panel cleaning, prolongs fan lifespan and maintains optimal airflow.
A well-sealed, ventilated attic paired with a solar fan can reduce attic temperature by over 20°F and lower cooling energy use by approximately 6%.
Table of Contents
How Do You Install a Solar Attic Fan Yourself?
Installing a solar attic fan follows a logical sequence, and skipping steps is exactly how DIYers end up with leaks or a fan that spins uselessly in the shade. This Old House’s step-by-step method has become something of an industry standard, and for good reason: it forces you to think before you cut.
Check your attic first. Before you touch the roof, climb into the attic and look at your intake vents (soffits, usually) and check for gaps around can lights, plumbing stacks, and the attic hatch. Air sealing has to happen before or alongside fan installation, not after.
Locate the spot from inside. Measure and mark your intended fan location on the underside of the roof deck, ideally near the ridge and centered between two rafters. Drive a nail through so you can find the exact spot from the roof.
Confirm sun exposure. Walk outside and check that the marked spot gets strong, unobstructed sun for most of the day. A fan mounted in tree shade barely runs.
Cut the opening. Use the manufacturer’s template (commonly a 14 to 14.5 inch circle) and a reciprocating saw to cut through shingles and sheathing, staying clear of the rafters on either side.
Install the flashing. Slide the flashing’s upper edge under the shingle course above the opening and let the lower edge lay over the shingles below, shingle style, so water always flows over metal, never under it.
Secure the fan housing. Fasten through the flashing per the manufacturer’s screw pattern, then run a bead of roofing-grade sealant around every fastener head and seam.
Route the wiring. If your model uses a remote panel instead of an integrated one, run the low-voltage cable through the attic to the panel’s roof or wall mount, securing it every few feet so it doesn’t chafe.
Set the panel angle. Tilt the panel toward true south where your local latitude calls for it, or mount it separately if your roof slope or shading works against the fan housing’s built-in angle.
Run the water test. Set a garden hose on the roof above the flashing and let it run for about five minutes while someone checks the attic below for any drips.
Confirm it spins. Wait for direct sun and watch the blades. A fan that hesitates or stalls usually points to a wiring fault or a panel that isn’t getting full sun.
Pro Tip: Do the water test before you clean up your tools and climb down. It’s far easier to reseat a flashing edge while your ladder is still against the house than to diagnose a stain on your ceiling three weeks later.
Tools, Materials, and Roof Safety You Need First
Gather everything before you climb up, not halfway through the job.
Cutting and fastening: reciprocating saw with a demolition blade, utility knife, drill/driver, caulk gun
Roof access: a ladder rated for your roofline height, roof brackets on steep pitches
Safety gear: full-body harness, ridge anchor, non-slip work boots, and a spotter who stays on the ground or in the attic
Materials: roofing-grade sealant (standard silicone caulk breaks down in UV and heat), flashing-compatible screws or nails, and a few replacement shingles to match your existing roof
Pro Tip: Schedule the work for a cool morning. RoofingDirect’s installation guidance recommends avoiding hot afternoons on asphalt roofs, since softened shingles tear more easily, and waiting at least 48 hours after rain so the roof deck has fully dried out.
When Should You Hire a Professional Instead?
Tile, metal, or multi-layer roofs raise the difficulty enough that most DIYers are better off paying for expertise. So does an attic already crowded with ductwork, or one where the air sealing needs real remediation before a fan will do any good.
Time: a straightforward single-fan installation on an accessible asphalt roof typically takes a licensed installer about 1 to 2 hours.
Cost drivers: roof pitch, tile or metal flashing complexity, permit requirements, and any extra attic air sealing all push the price up.
What a qualified installer should deliver: a real site assessment, honest recommendations on attic sealing (not just a fan sale), correctly matched flashing for your roof type, permit handling where your municipality requires it, and a workmanship warranty.
If a quote skips the site assessment and jumps straight to a price, that’s a red flag regardless of who’s bidding the job.
Why Air Sealing Matters More Than the Fan Itself
A powered attic fan creates negative pressure, and that pressure has to pull air from somewhere. If your attic floor has gaps around light fixtures, the attic hatch, or plumbing stacks, ProRemodeler’s building-science analysis confirms the fan will happily pull cooled, dehumidified indoor air straight through those gaps instead of just exhausting hot attic air. That raises your cooling bill instead of lowering it.
Seal the attic floor first: caulk, foam, or weatherstripping around every penetration.
Confirm your soffit intake vents are clear and sized to match the fan’s exhaust capacity; a powered fan without enough passive intake just strains against itself.
Be cautious with humidistat controls in humid climates. A fan that kicks on based on humidity can pull damp outside air into the attic rather than drying it out.
If your attic is already well insulated, well sealed, and has generous ridge and soffit ventilation, a fan may add little. Field data suggests the biggest gains show up in hot, leaky attics that house ductwork or HVAC equipment.
A Florida Solar Energy Center case study measured attic temperature drops of more than 20°F and roughly a 6% reduction in space-cooling demand, translating to about 460 kWh saved annually in the test home. That’s a real number, but it came from a properly sealed attic paired with the fan, not the fan working alone.
How Many Fans Do You Need, and Where Should They Go?
Sizing follows attic square footage more than guesswork. Manufacturers typically publish a CFM rating per square foot of attic floor, and larger attics, or ones with steep rooflines and more air volume, often need two fans rather than one oversized unit.
Center the fan within 20 to 30 inches of the ridge for the best draw on hot air pooling near the peak.
Use a remote-mounted panel if your best roof-mounting spot faces north or sits in heavy shade; running cable to a better-lit spot beats a fan that barely turns.
Asphalt shingle roofs get a direct roof mount. Flat roofs typically need a curb mount to keep water from pooling against the housing. Some gable-end setups work better with a wall-mounted gable fan instead of a roof penetration at all.
Keeping Your Fan Running for Years
A quick seasonal check catches most problems before they become expensive ones.
Watch the blades spin on a sunny day and feel for airflow at the vent opening.
Touch-test the attic temperature against the outdoor temperature; a properly working fan should narrow that gap noticeably by midafternoon.
Run the garden-hose test annually around the flashing to catch any seal that’s started to fail.
If airflow feels weak, check for shading on the panel first, then inspect intake vents for blockage before assuming the motor is bad.
Wipe down the panel each spring; dust and pollen buildup cuts output more than most homeowners expect.
A Field Note on Solar Attic Fans
Homeowners consistently make the same mistake: they buy a fan to fix a hot attic without ever checking whether the attic floor is sealed. Solar attic fans work best as the finishing touch on a properly sealed, properly vented attic, not as a standalone cure.
— Ronnie
Get a Free Solar Attic Fan Assessment From Florida Solar East
A practical alternative to guessing your way through a rooftop project alone is available. The team handles the part most DIY guides gloss over: checking attic air sealing and intake vent balance before any roof work, so the installed fan earns its keep.

We offer free site assessments, honest advice on whether your attic needs sealing work before a fan makes sense, and full installation backed by financing options, including the current 30% federal tax credit on qualifying solar equipment. If your roof is tile, metal, or has tricky flashing details, that’s exactly the kind of job worth handing to a professional crew instead of a Saturday and a rented ladder. Explore our solar electric and installation services or visit our home page to request your free estimate and get a straight answer on what your attic actually needs.
Sources
Recommended

Comments